
Chick Care Arrival to Maturity
Step by Step Guide to Raising Chickens
Starting with chickens...at step by step guide to raising chickens
Before Your Chicks Arrive
Before your chicks arrive, there are several things to do before their arrival. First, you need to acquire a brooder. This needs to have solid sides for two reasons: first, to prevent drafts and second, to keep your chicks contained. If you are using a brooder that you have used before, be sure to scrub it down with a 10% bleach solution and do this so it has time to dry out before you put new chicks in it. Next think about the amount of space that will be required as they grow. Your Cornish Cross meat birds will experience a growth spurt in about a week or so. If you do not have adequate space to accommodate this, you will have smaller birds.
Now that the brooder has been acquired of you should obtain a good quality feed to give them a nutritional start to their life. We start ours on a certified organic 20% chick starter. This is a good start for a layer flock as well as a meat bird flock. For your layers we recommend keeping them on a 20% ration for at least 6 weeks. For your Cornish Cross broilers, we recommend 2 weeks and for your Red Ranger Meat birds we recommend 6 weeks. After the appropriate time period you will move them to a 18% chicken grower. Make sure your feed is stored in a cool dry place. You can find weekly feed requirements in the learning section at www.rcrorganicfeedstore.com.
The size and number of the waterers and feeders will depend on how many chicks you are raising. The recommended feeding/waterer space to allow chicks to have adequate room to eat and drink is as follows:
- Week 1 to 2 - 1 1/2" - 2" per bird
- Week 3 to 4 -2 1/2" per bird
- Week 4 to 8 should allow 3 1/2" per bird
- Week 8-12 weeks should allow 6" per bird
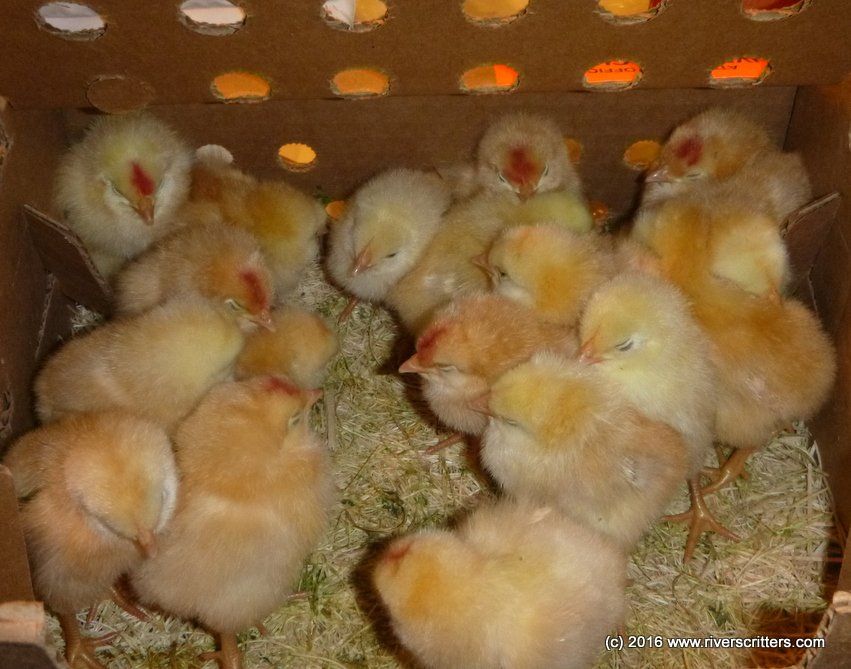
Now it is time to prepare your brooder for the chick’s arrival. Make sure your heat lamps and waters are secured in the brooder. Remember you will need to set up the brooder 24-48 hours before your chicks arrive. Make sure you locate your brooder so there is no breeze on your chicks. If your chicks are arriving by mail, it is critical that their brooder is warm. The floor of the brooder should be warm and the temperature in the brooder should be 100 - 105 degrees Fahrenheit.
After your brooder has reached the 100 to 105 degree Fahrenheit and before your chicks arrive spread the floor of the brooder with 3 inches of woodchips and place a thermometer under the heat lamp to confirm you have the proper temperature. I don’t recommend using newspaper shipping paper on the floor of the brooder as it is too slippery for newborn chicks and can lead to a condition called splayed leg also known as spraddle-leg. This condition means the chick will not be able to stand.
Special Note: don't use saw dust, sand, or cat litter as bedding material. It retains ammonia and the dust can lead to respiratory issues. Additionally, do not use Cedar bedding as the plicatic acid damages the respiratory system of the bird.
If you are ordering your chickens online, make sure you call your post office ahead of time. Many post office will call you when they arrive. If the postmaster calls you, stop what you're doing and pickup your chickens! Your chicks and the postal workers will appreciate you.
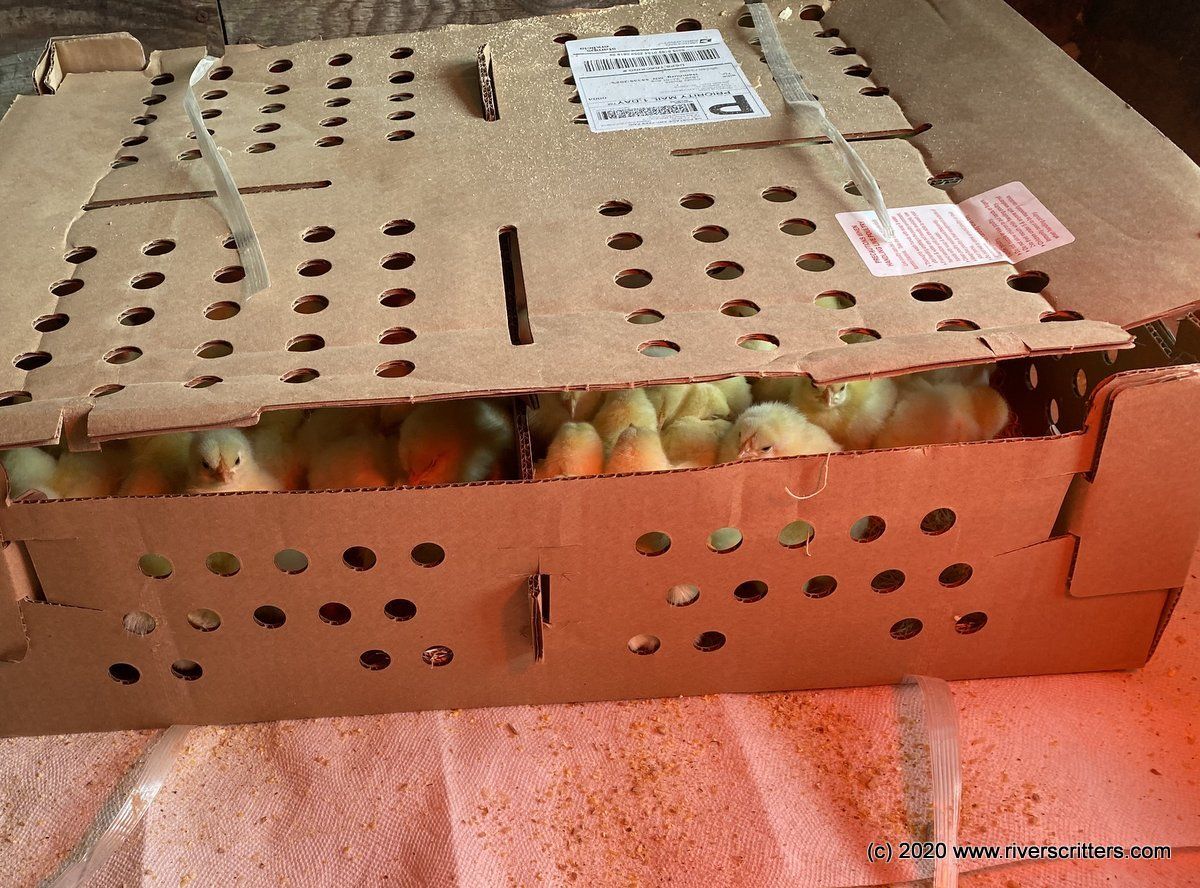
Day One - Your Chicks Arrive!
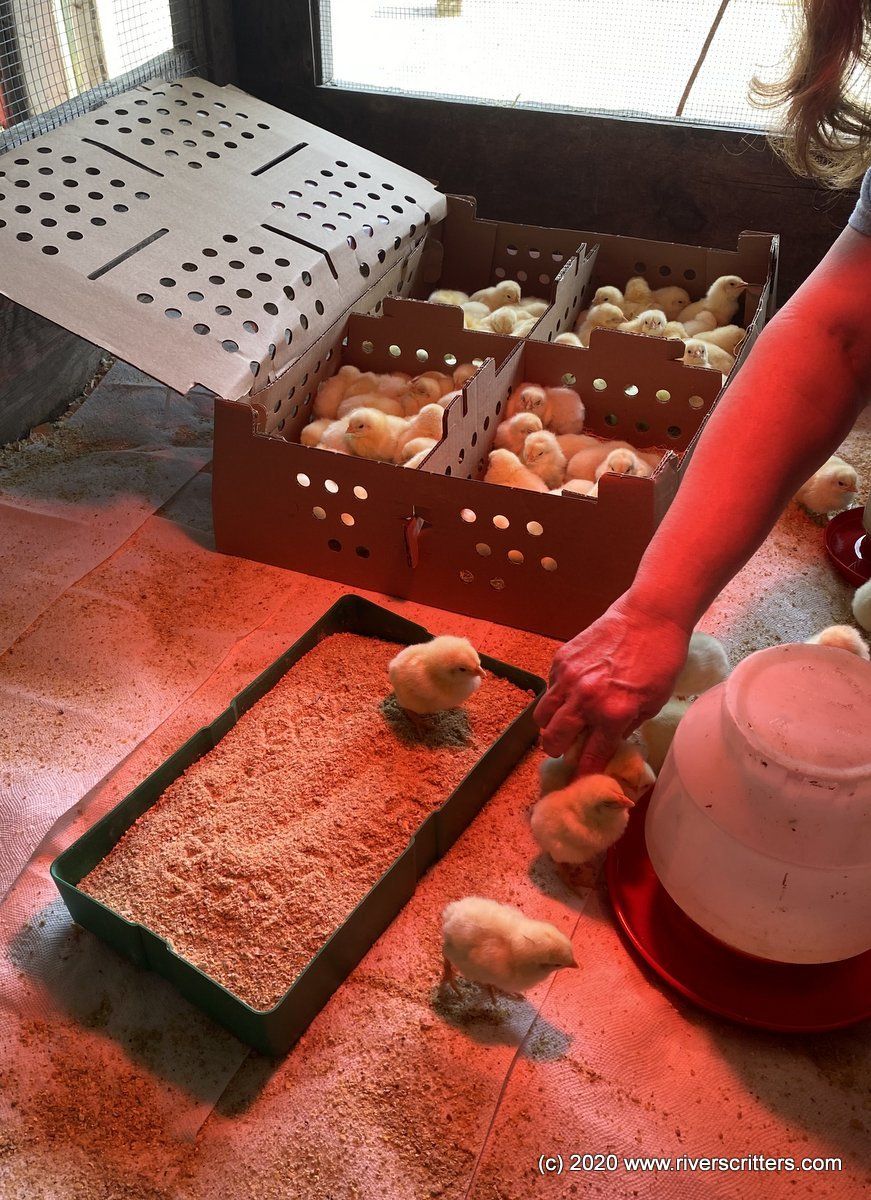
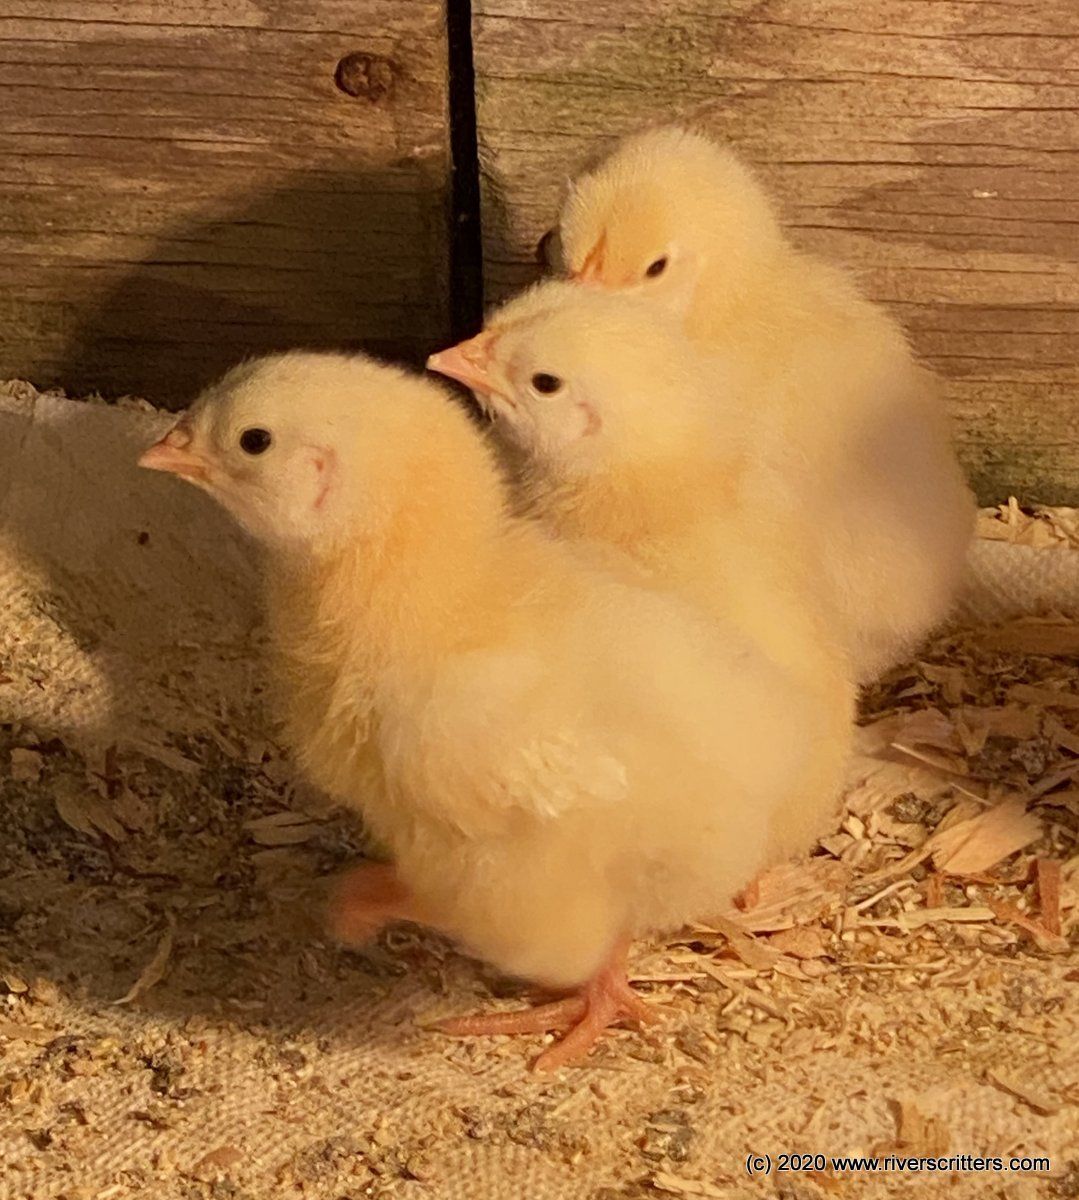
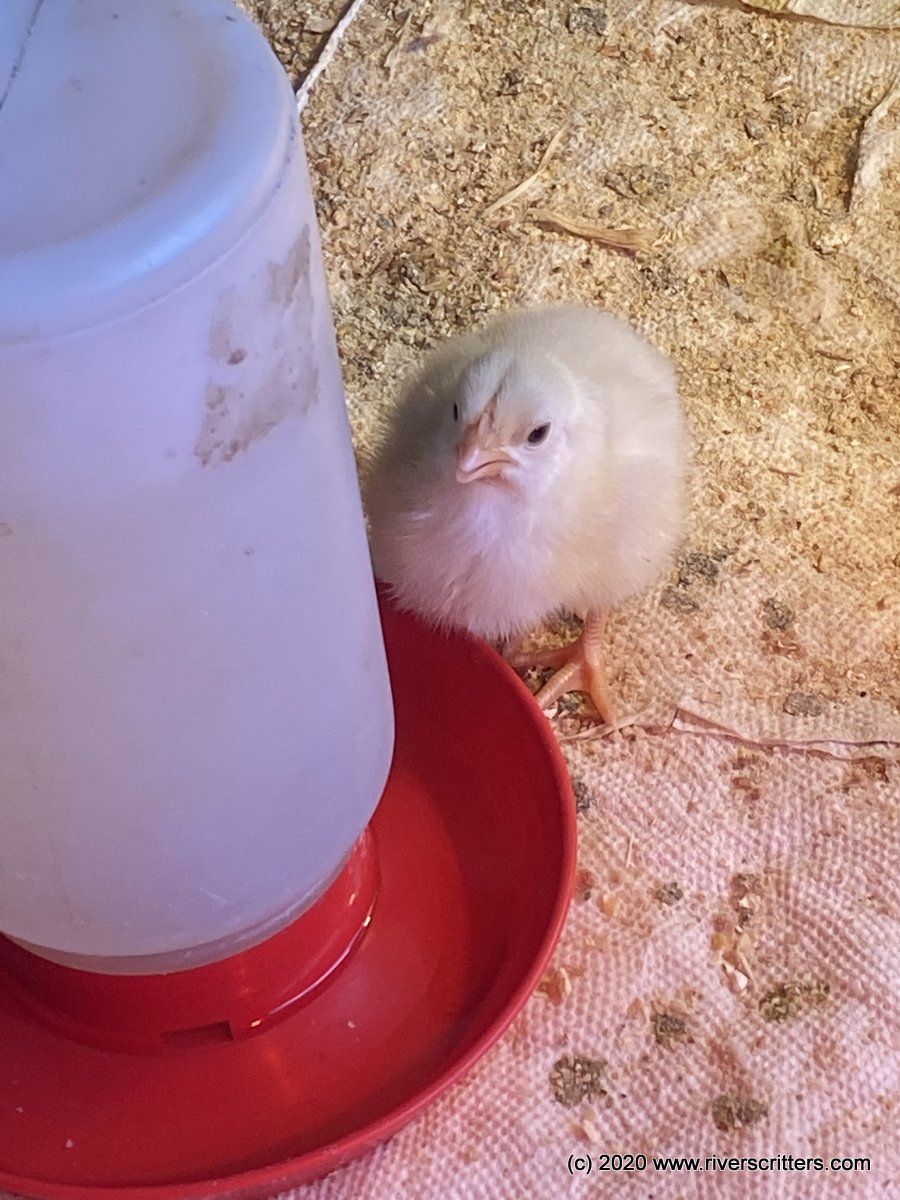
On the day your chicks arrive fill your feeders and waterers. Thoroughly mix a teaspoon of sugar into a quart of very warm water (98 degrees) to give the chicks some energy to begin the feeding process. The warm water will hydrate your new chicks and increase their body temperature. Place your feeders and waterers in the brooder keeping them out from under the heat lamps. You should cover the woodchips with a layer of paper towels. Sprinkle feed on the towels. This will allow the new arrivals to eat feed rather than woodchips. As you unpack your new arrivals carefully dip each chick’s beak in the drinking water and make sure they drink. If it looks like they did not swallow dip their beaks again. Set them down and let them explore. They will catch on quickly and will be hungry and thirsty. If the chicks are huddling together in a tight group directly under the heat source the brooder is too cool. Adjust the heat lamp and break up the huddle. Make sure your brooder will allow the chicks enough room to move away from the direct heat of the heat lamp. When you see your chicks staying out from under the heat lamp it is time to raise the heat lamp in order to reduce the temperature of the brooder. Special Note: Make sure you remove the paper towels the day after their arrival. Additionally, ake sure to check on all chicks at least twice a day while brooding and keep your litter clean and dry.
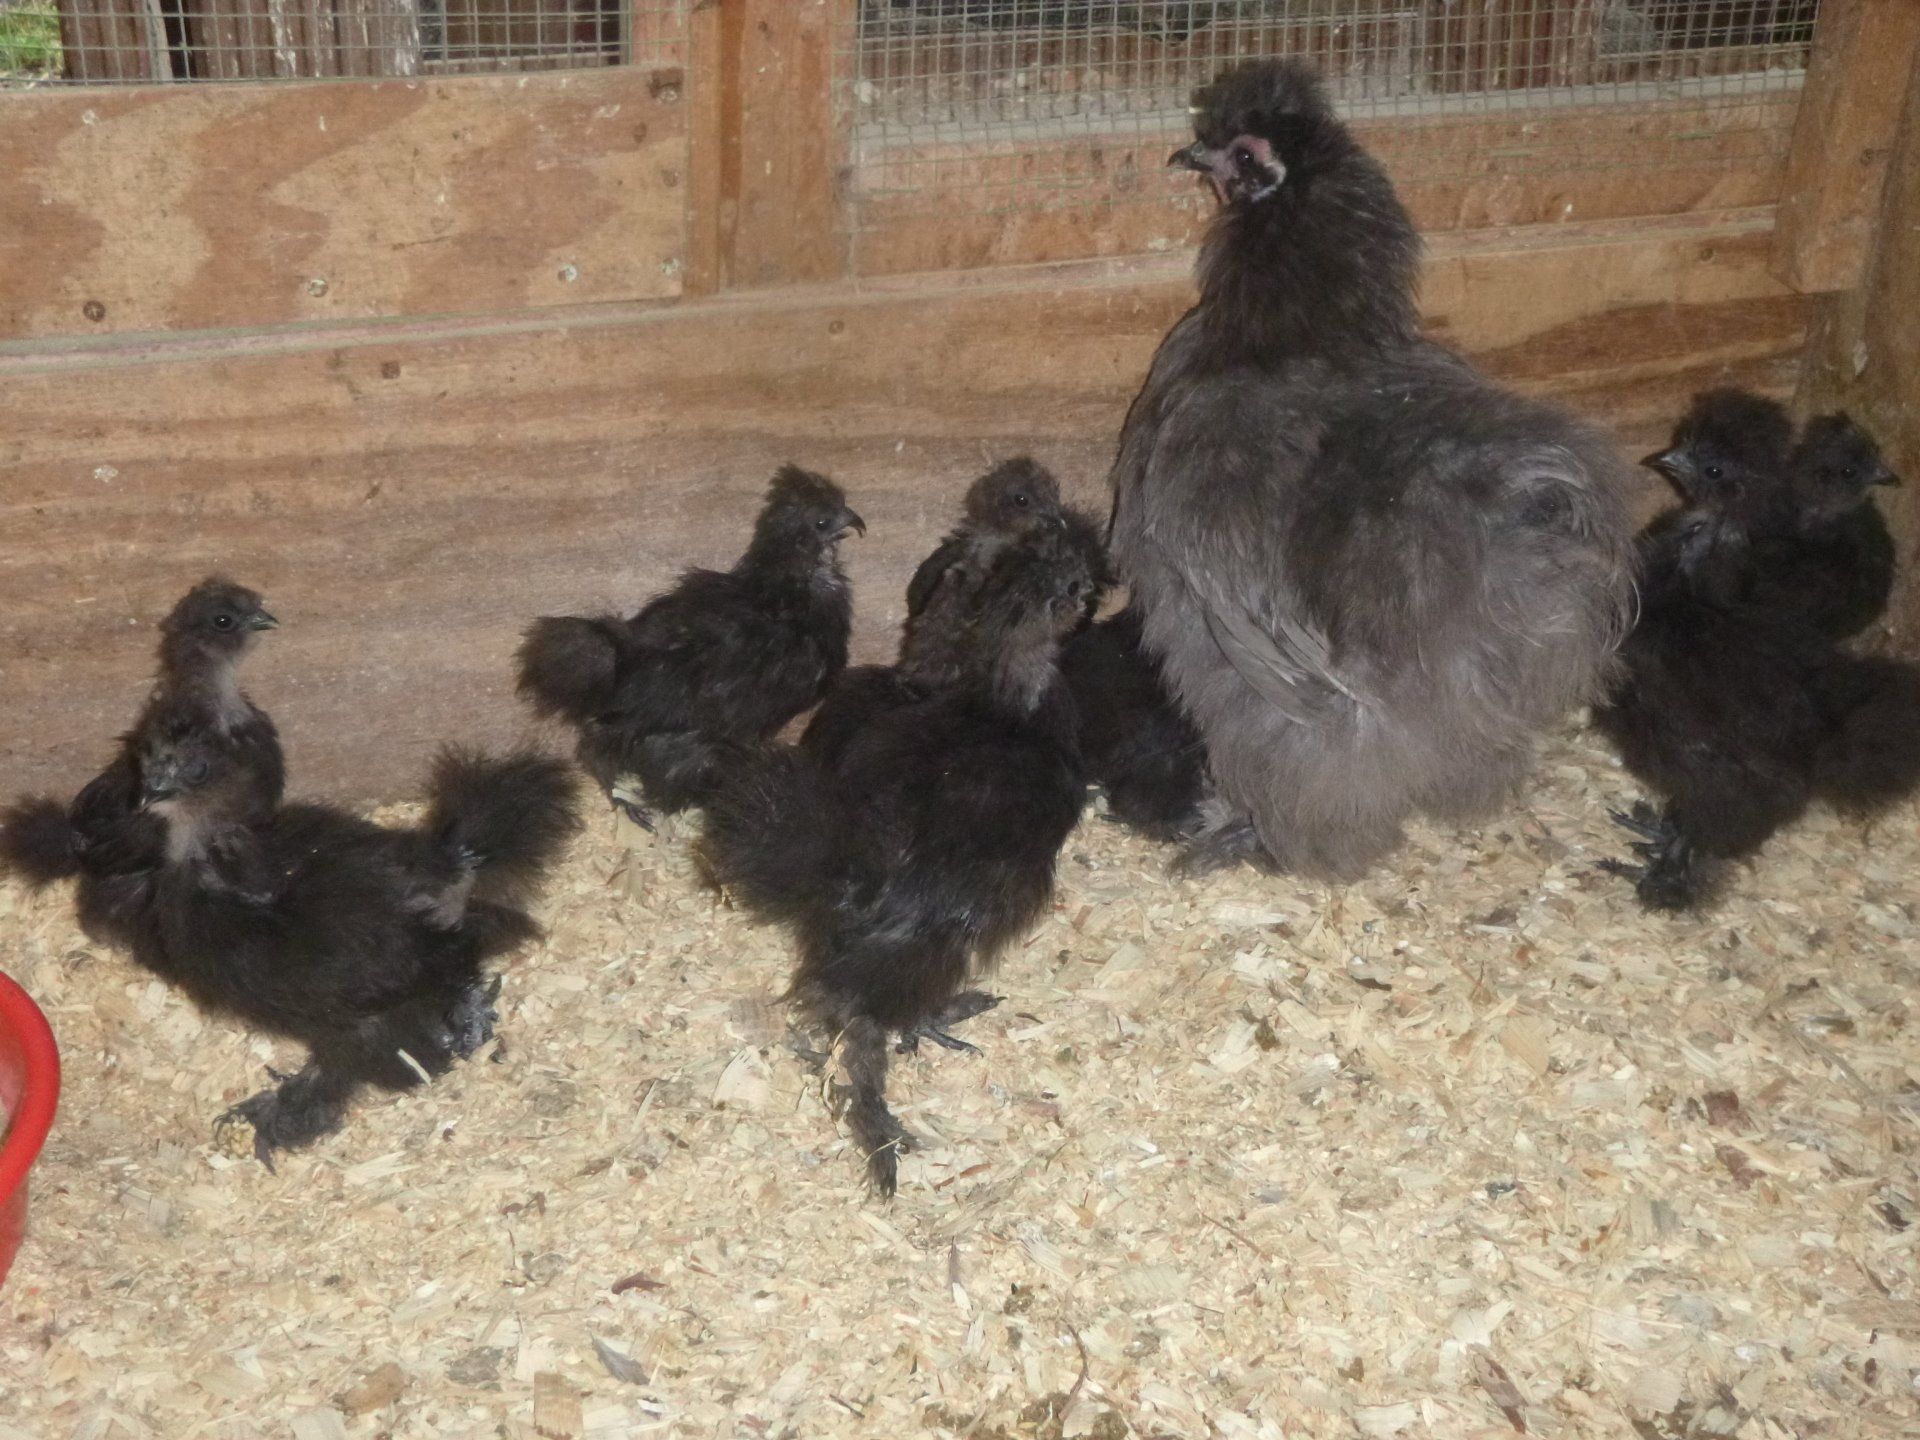
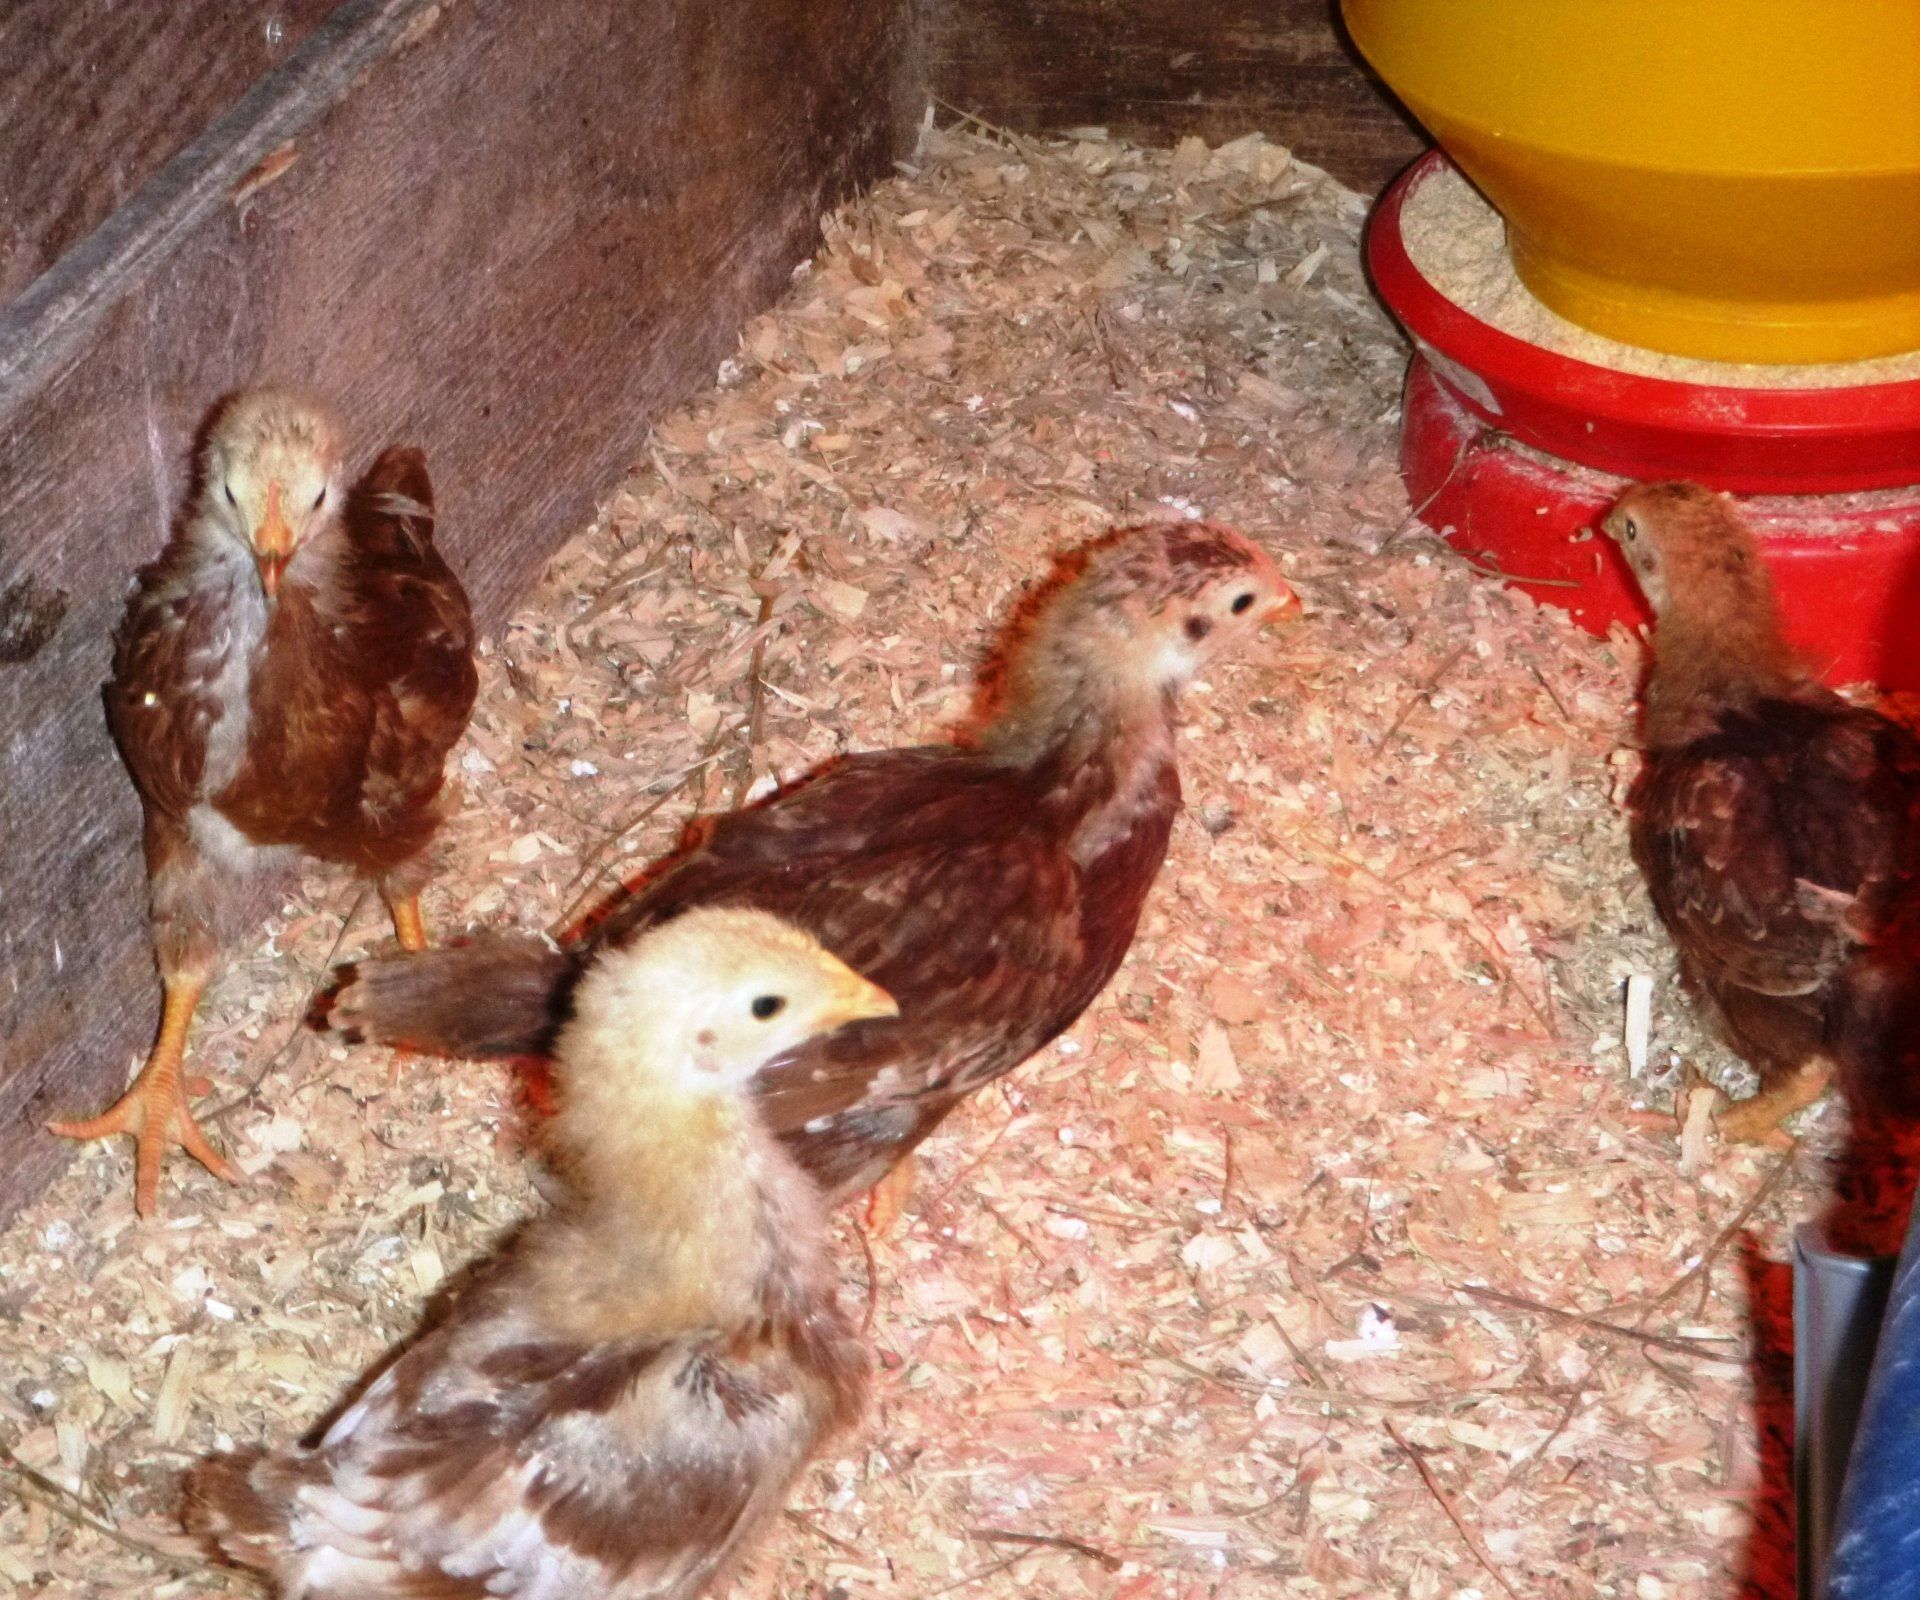
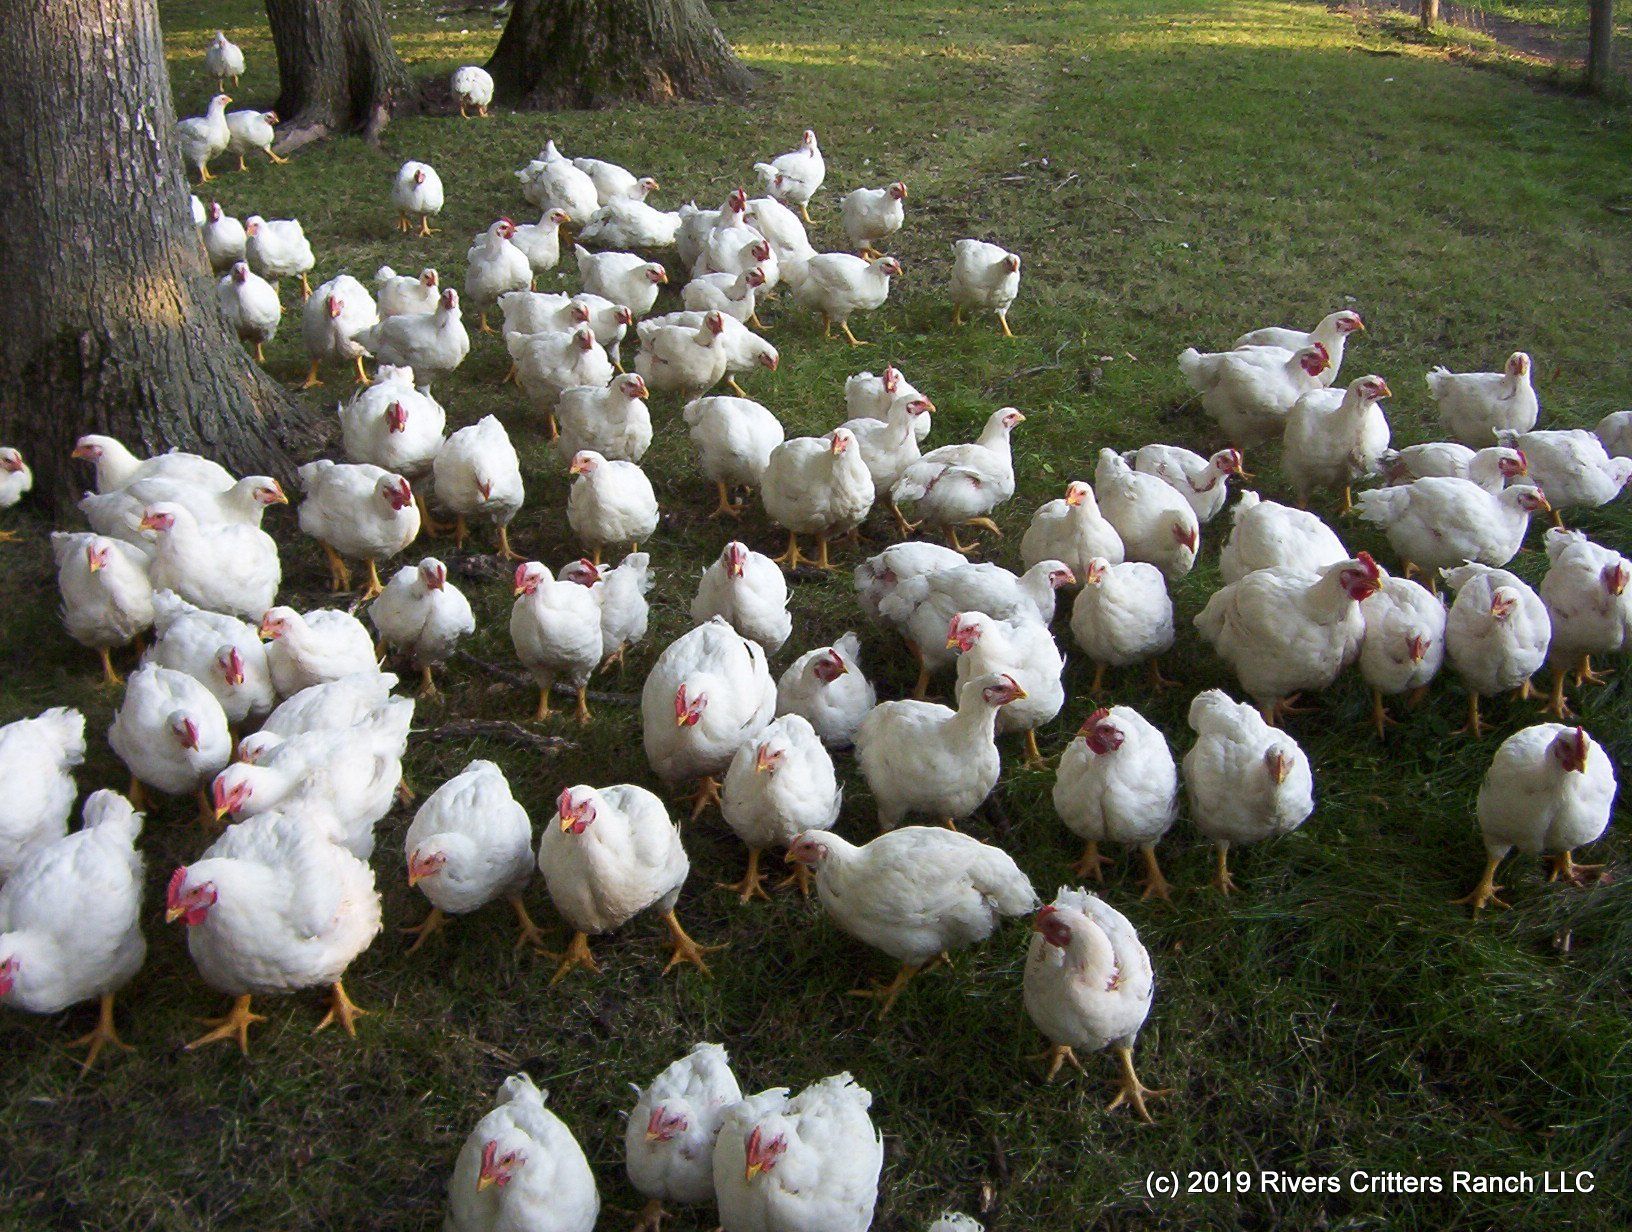
You should aim for 95 degrees Fahrenheit during their first week. A thermometer placed at the chick’s level will confirm the temperature. After the first week lower the brooder temperature by 5 degrees each week until your layers are fully feathered out (6-8 weeks). So, in 5 to 6 weeks you brooder temperature should be 70 degrees Fahrenheit. In 3 weeks your Cornish Cross meat birds should have gone through two growth spurts if you have given them ample room in the brooder. Weather permitting they are ready to move into the field. Your Red Rangers will move to the field in 6 weeks.
Time to Move
In 6-8 weeks your layers will be feathered out and it is time to move them to their coop. There are 3 must haves in a new coop. First, it should be ventilated but be draft free. Second make sure your birds have access to their food and fresh water. And lastly, make sure their coop is predator proof!
Most sources will recommend that a coop allow 2 square feet per bird. We have found this is not enough room in the winter months or if your birds do not have access to the outdoors. We allow 3 ½ square feet for production layers and 4-5 square feet for larger birds (such as brahmas or buff Orpingtons). If your birds are not free range but have access to an outside coop, you should allow 10 square feet per bird in their outdoor area. Overcrowding your birds can lead to aggressive behavior, feather pecking or pulling, and lethargy all will result in lost egg production. You will also see dirty, misshapen, broken, or cracked eggs. You will also be exposing your birds to a variety of diseases such as mites, premature molting, infectious bronchitis, rotgut, aspergillosis, lameness, coccidiosis, fowl pox, and Merek’s disease.
Your chicken’s new homes should include a 12” x 12” laying box made out of wood, plastic, or metal for every 4 birds. Their coop should also have roosting bars which allow 12 inches per bird with each roosting bar 14” away from each other. Ample waterers and feeders for the number of chickens. Feeders and waterers should be raised to the height of the chicken’s backs. Your chickens should receive fresh water every day. Your coop should provide 14-16 hours of “daylight” each day using a 15-25 watt light bulb that can be managed through a timer.
After your hens move into their new home it is natural to wonder if they are happy. There are several indicators that can answer this question. If your chickens are exhibiting their natural behaviors, such as roosting at night, flying to their perch, being active, preening their vibrant feathers that are shiny and sleek they are happy! And if they have access to the outside, you will see them taking dust baths, bug hunting, and an added bonus will be having them run up to you when they see you because they know you are part of their flock.
For many weeks you have been watching your chicks grow and mature. You know that roosters’ combs and/or wattles are noticeable around 8 weeks, however, a hen’s wattles and/or combs develop more slowly. When hens get close to laying you will see a dramatic change as their wattles